
Makeup sponges are the unsung heroes of the beauty world, transforming a simple dab of foundation into a flawless masterpiece. With the right techniques, these squishy wonders can elevate any makeup routine from “meh” to “wow!” Whether you’re a seasoned pro or just starting out, mastering the art of the makeup sponge can save you from the dreaded cake face and give you that airbrushed finish everyone craves.
Table of Contents
ToggleOverview of Makeup Sponge Techniques
Makeup sponge techniques play a critical role in achieving a smooth, flawless finish. Mastering these methods can transform routine applications into professional-looking results.
Importance of Proper Technique
Proper technique maximizes the effectiveness of a makeup sponge. Using the correct motions prevents streaks and ensures even coverage. A gentle tapping motion blends foundation seamlessly into the skin. Avoiding excessive rubbing minimizes the risk of irritation. Effective techniques contribute to an airbrushed appearance without caking. Both beginners and seasoned users gain confidence through mastering these skills. Adopting proper methods enhances makeup longevity, ensuring a polished look throughout the day.
Types of Makeup Sponges
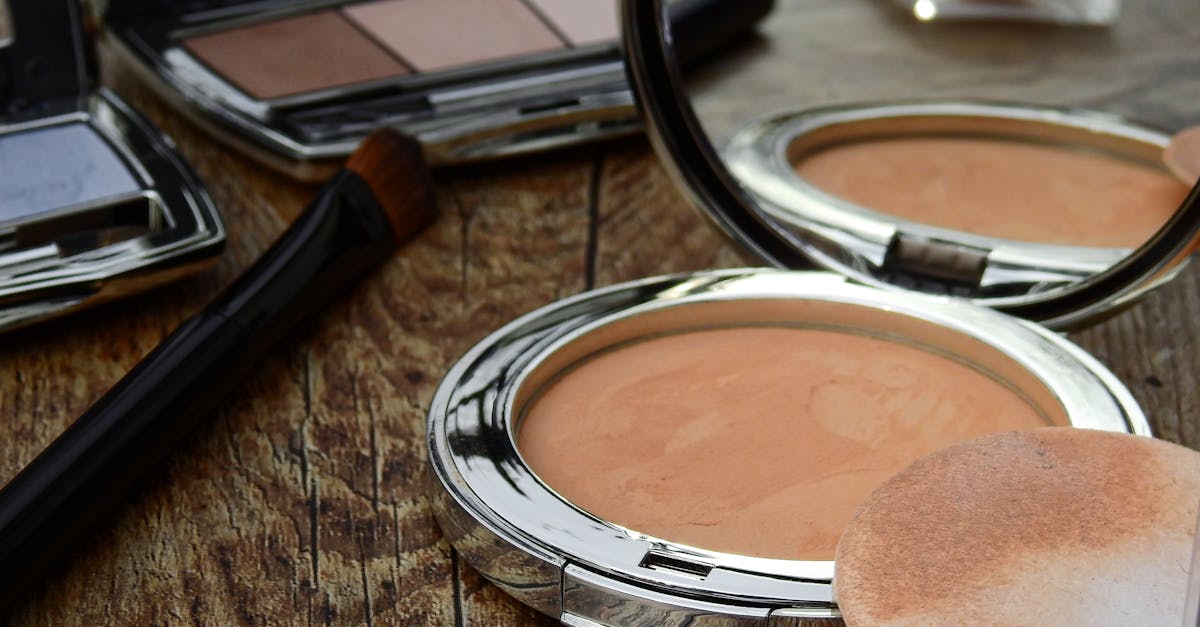
Various types of makeup sponges cater to different makeup needs. Beauty blenders excel in creating soft, blended finishes. Triangular sponges offer precision for contouring and highlighting. Flat-edged sponges provide defined application of foundation and other products. Silicone sponges allow for easy cleaning and less product absorption. Each sponge type serves distinct purposes, enhancing versatility in makeup application. Selecting the right sponge can significantly influence overall makeup results and user experience. Proper choice contributes meaningfully to achieving desired effects.
Application Techniques
Makeup sponge techniques enhance the overall makeup experience, delivering a smooth finish. Mastering these methods ensures optimal results.
Using a Damp Sponge
Using a damp sponge leads to a dewy appearance. Lightly wetting the sponge with water or setting spray hydrates surfaces, preventing excess makeup absorption. A moist sponge blends foundation effortlessly, allowing for buildable coverage. When applying liquids, gentle tapping creates an even complexion without disturbing skin texture. This technique minimizes the risk of caking, offering a more natural look. Remember, achieving this effect requires the sponge to be well-absorbed yet not dripping wet.
Dry Sponge Application
Dry sponge application also provides effective results. A dry sponge works well with powders, like setting powder and blush. The texture of a dry sponge picks up product efficiently, resulting in an airbrushed effect. Pressing the sponge onto the skin can set makeup in place, offering additional coverage. Different contours and shapes allow for precise application in hard-to-reach areas. This method enhances the longevity of makeup throughout the day, ensuring a polished appearance for hours.
Blending Techniques
Makeup sponges can elevate blending techniques, ensuring a seamless finish. Mastering these techniques allows for a polished look, whether applying foundation or concealer.
Tap and Roll Method
In this method, the sponge taps product into the skin while rolling slightly for even distribution. Users find that this technique blends foundation effortlessly, achieving a natural appearance. Start by dampening the sponge to enhance flexibility. Apply a small amount of foundation on the skin, then press the sponge gently, using a rolling motion to blend. The roll helps mitigate streaks that can occur with traditional brushes. Focus on areas like the cheeks and forehead for added coverage. Transition smoothly to other sections of the face for consistent results.
The Stippling Technique
With the stippling technique, a unique approach to blending emerges. This method involves a light, bouncing motion, creating a stippled effect on the skin. Users benefit from employing a damp sponge to enhance coverage, especially with liquid foundations. Start by placing the sponge on the skin, then quickly bounce it upwards and downwards. This action builds layers without disturbing the underlying makeup. Concentrate on problem areas for extra coverage while maintaining a lightweight feel. Employ this technique for an airbrushed finish that looks flawless and natural.
Specialty Techniques
Specialty techniques enhance makeup application using sponges for professional results. These methods include contouring and baking, two popular techniques that can elevate one’s makeup game.
Contouring with a Sponge
Contouring using a sponge efficiently defines facial features and creates a sculpted look. To apply, choose a cream or liquid product that matches the skin tone. Using a damp sponge, gently tap the product along the hollows of the cheeks, jawline, and along the nose. Focusing on blending ensures a seamless transition between contour and foundation. Lightly stippling the edges softens any harsh lines, resulting in a natural appearance. Adjusting the pressure applied to the sponge helps build intensity without overdoing it. Mastering this technique allows for more precise application tailored to individual facial shapes.
Baking with a Makeup Sponge
Baking involves setting makeup for extended longevity and a flawless finish. A damp sponge is ideal for this process. Initially, apply concealer under the eyes and on areas prone to creasing. Following this, using a dry sponge, press translucent powder onto these areas, creating a thick layer. Letting the powder sit for a few minutes helps absorb any excess oils and smooths out fine lines. Using a clean sponge, sweep away the excess powder for a polished look. This technique, often favored for special occasions, guarantees makeup stays intact throughout the day.
Maintenance and Care
Maintaining makeup sponges ensures optimal performance and longevity. Proper care enhances makeup application and hygiene.
Cleaning Your Makeup Sponge
Cleaning sponges removes buildup and bacteria, promoting skin health. Use mild soap, a gentle cleanser, or specialized sponge cleaners. Wet the sponge, apply the cleaner, and squeeze gently to lather. Rinse thoroughly under running water, ensuring all soap is removed. Regular cleaning should occur after every few uses. Spot cleaning can become part of a daily routine, while deep cleaning needs to happen weekly.
When to Replace Your Sponge
Replacing sponges prevents degradation and skin irritation. Inspect sponges for tears or discoloration, which indicate their lifespan may be ending. Typically, a sponge lasts 3 to 6 months with proper care. Replace sponges sooner if they start to smell or lose elasticity. For optimal hygiene, invest in new sponges regularly to ensure flawless makeup application.
Mastering makeup sponge techniques can elevate any beauty routine. With the right approach and tools it’s possible to achieve a flawless finish that enhances natural beauty. Whether opting for a damp sponge for a dewy glow or a dry sponge for a polished airbrushed effect each technique offers unique benefits.
Investing time in learning advanced blending methods and specialty applications like contouring and baking can lead to professional-looking results. Regular maintenance of sponges is crucial for hygiene and performance ensuring that every makeup application remains impeccable. By incorporating these techniques into their routine anyone can unlock the full potential of their makeup sponges.


